I am not sure if anyone really visits this blog anymore but all the while I am a parrt of OPAM 2017 I will keep posting here. If you do visit then do please say hello as so many blogs are falling by the wayside which is a shame. Anyway..........
OPAM MAY
I have been extending my crochet skills further this month and much of my spare time has been taken up with making loads of these.......
I shall blog exactly why after the weekend as I need an important piece of information first.
So since April I have been trying to extend my crochet skills in terms of stitches but also trying to work out what on earth the patterns mean!
Above is a SHELL pattern which I have made using 100% cotton yarn and after unpicking it three times I eventually got there and I only had enough yarn to make this....
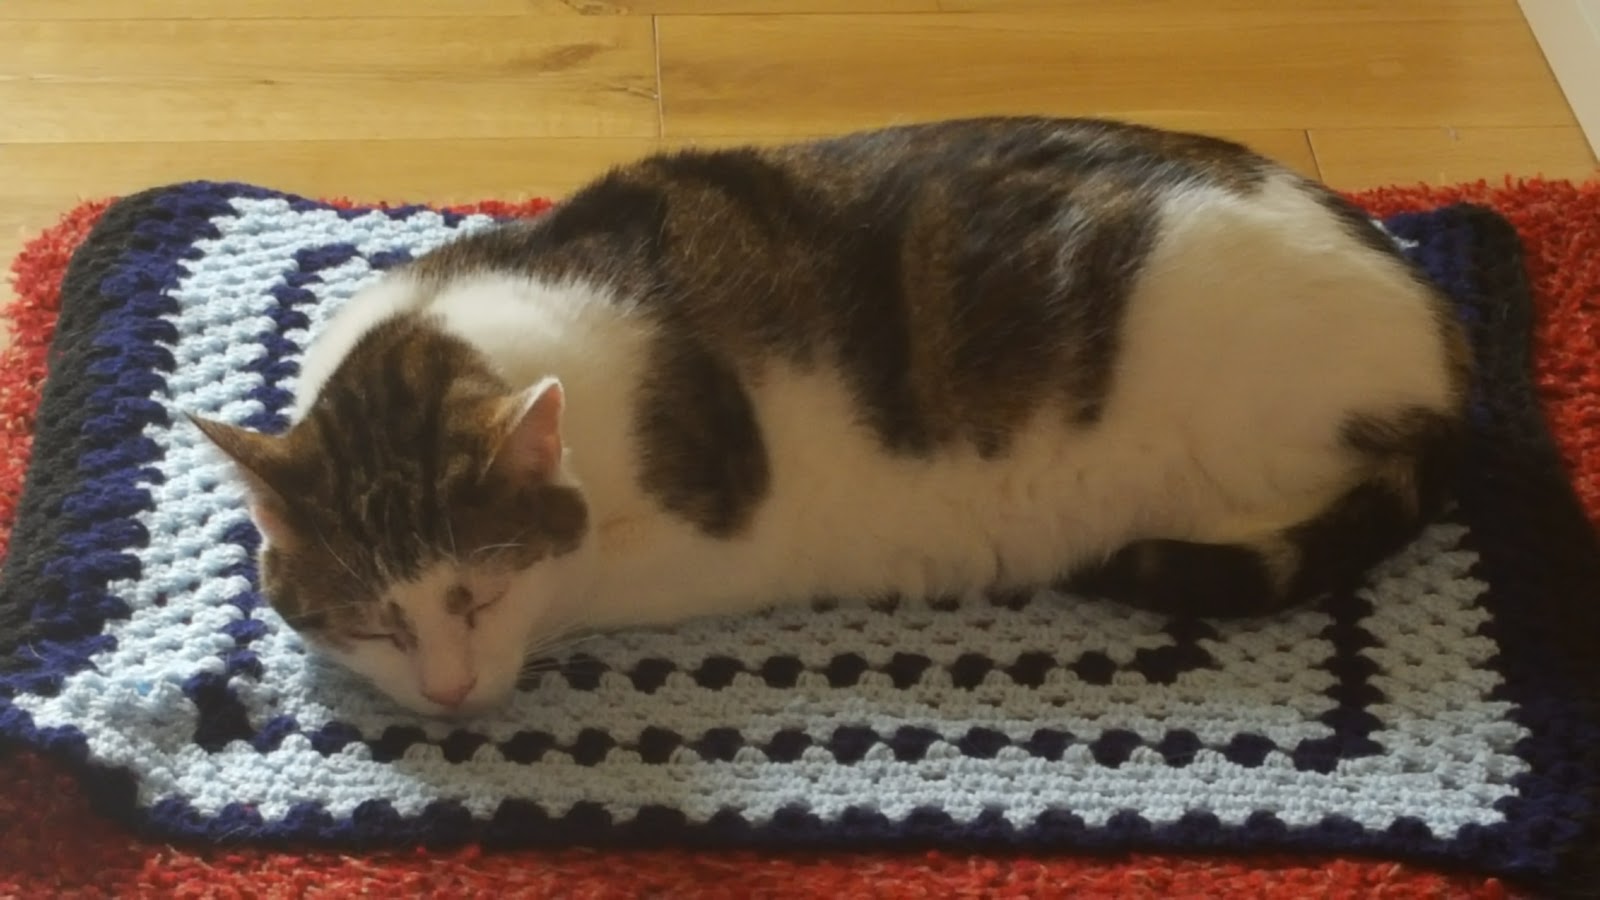
Next came a much needed cat blanket for Toffy to go inside his little hut that we bought him for when we are out at work and the weather is foul.
He did not seem too sure at first.
However that did not last long. Just need to try and get in it inside his hut!
By now I was in full Pom Pom making mode but after making the owl and the octopus Sophie asked if I would make a turtle to go with her ever growing collection. So after looking on the Internet I mixed three patterns together to make "Squirt"
I am quite pleased with this as it is the most complicated Amigurumi project that I have tried so far. He turned out larger than I expected but at least he does look like a turtle!
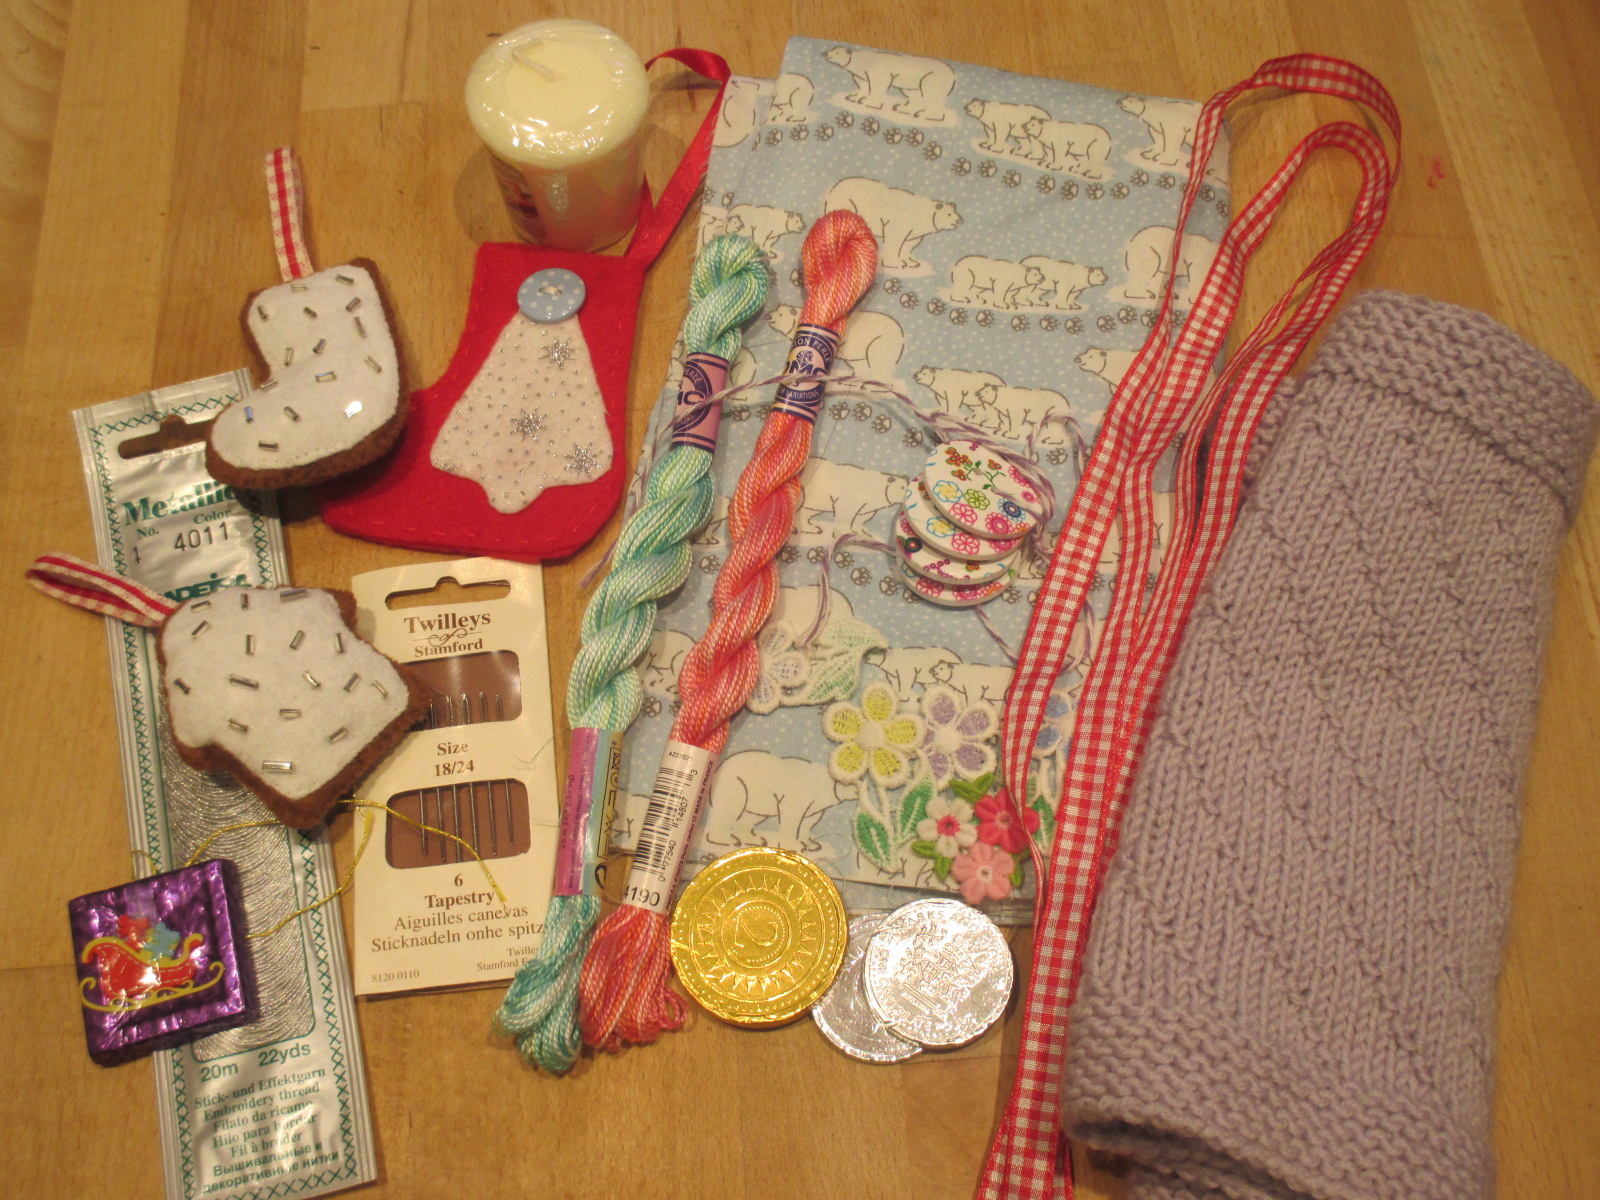
This week I saw an idea that I thought might make a nice present was this little coin purse. I used small amounts of wool for this and I think I shall be making some more as December gradually creeps closer as this would also be ideal to put money or a gift card inside.
So up to today, Sophie and I are having one last go at the pom poms and will be delivering them to the organiser this afternoon.
Then we would have made about 90 odd.
Hopefully next month there will be more fabric based makes but to be honest whilst recovering from my hip operation and then battling post op sciatica crochet has been the most comfortable and rewarding pastime just lately.
Best wishes all.
xx


.jpg)


%5B1%5D.jpg)


%5B1%5D.jpg)


%5B1%5D.jpg)


.JPG)


