Showing posts with label valentine. Show all posts

Saturday, 27 February 2016

Send a little Love Swap - I recieved.............


This is the lovely parcel that was sent to me by Stephanie.
The little basket is already in use on my desk.
The gorgeous fabric is sitting patiently for a new project.  


I am looking forward to trying out the Clover fabric heart maker.  I have a couple that make round Yo Yo's but not a shape like this.

Plus a brand new tape measure which I was quite desperate for so very timely and some crisps.
Finally a length of fabric ribbon with hearts on which I will use with the fabric.

Very thoughtful parcel for this swap.
So thank you very much Stephanie ( also a thank you on my Instagram page) the LOVE has been swapped.

I have a crazy patchwork Workshop tomorrow with 5 lovely ladies and i shall post some pictures here and on my Facebook page.
have a good weekend.
xx

Friday, 19 February 2016

Send a little love swap

Has been a while since I blogged as I was having trouble getting my photos but I think that I have solved it now.
My swap partner was Stephanie from Calico heart and I decided to send the following:
A hand stitched felt heart with heart shaped buttons.  Long time readers will recognise this as I have made this before.
I also made loads of oil cloth purses a while back and I thought that Stephanie would like this one for perhaps car parking change etc.  You can get a set of keys in this too.
I also added a tin of chocolates, a heart shaped hard backed notebook which I thought was brilliant!  A bright red beanie hat which I could not resist when I saw it in a shop.  
Everything has arrived all safe and sound and the hat will be worn during break duty at Stephanie's school!
Tomorrow I shall post the lovely items sent to me.
Take care all.
x

Sunday, 3 January 2016

Valentine Swap 2016

To start off the new year and help to dust off my blog I have signed up to the swap above.  Click HERE if you would like to find out more and sign up.
xx

Thursday, 12 February 2015

Valentines Day Art Journal Page

Last weekend I found a little time to create another a
Art Journal page on the theme Valentines and it seemed like a chance to sue different colours and materials.
Using inspiration from You tuber France Papillion I used my large heart shaped cutter and cut out lots of hearts using white card.  I then attached them to the pages using Decoupage glue.  This did take a while to dry so I went off and did the ironing (I live such a glamours life).
Once dry at then added a coat of white Gesso and at this point I did wonder if I had done the right thing.  I then added a layer of pink ink which I then reduced down a bit with water and rubbed some away with a baby wipe to blend the bright colour.  Dried with a hairdryer and then added much smaller card hearts which I painted separately with red and pink ink.  
Splats were added for interest and 3D heart gems were glued on using Tacky Glue and this contrasted with that of the card hearts.
The large hearts were highlighted with red oil pastel and a flash of white acrylic paint.
The opposite page features a collage of different materials including tissue paper, enphemera and raffia ribbon.
A very different journal page and I am now half way through the book and seeing as I am half term next week I intend on trying to do another in between planning my lessons.
Maybe something to do with pattern design.
Take care All.
xx

Sunday, 1 February 2015

Tutorial - Painted Fabric Heart

I have made several of these fabric hearts using different fabrics etc.  Last week my textiles and craft group painted cotton fabric which we then needed to leave to dry.  This week we spent our session sewing them together on the sewing machine.  Here is how I made mine.
I have a template which I shall try and add to the template section at the top of this blog to print out.
We used a range of ready mix paint or poster paint to decorate the fabric.  We decided not to use fabric paint as it can be a bit too thick and seeing as we were not washig this item we went for the easier and cheaper option.
After it had dried I decided to add a design (which is optional) using a Sharpie pen.
This is a flower shape that I have used many times over the years.  In particular for a range of silk scarves that I made whilst still at college.  The students decided not to as they felt they might cover up their fabric print designs which was fair enough as several had used printing blocks, whereas my fabric was more sploggy!
I then cut two lengths of ribbon approx 15cm.  You could use tape, piping cord etc whatever you have really but you need to able to get a sewing machine over it.
Take the ribbon and pin at one of the points with the ribbon facing towards the centre of the triangle.  Put the second piece of ribbon at the opposite point.
Take the second piece of painted fabric and place rights side together over the first piece.  Sandwich the ribbon between.
Remember to keep and opening along the top edge for turning and adding stuffing.  Put pins around the outside of the triangle, pinning both layers together.  Keep an ey on where the ribbon is on the inside so that it is not accidently stitched in to the side seam as you go round the edge with the sewing machine.
Thread up a sewing machine (can be hand stitched if prefered) in matching thread and then sewing from one side of the opening around the edge to the other side of the opening.  I kept my machine foot on the edge of the fabric to keep an even seam allowance.
Trim the threads and carefully turn the triangle around the right way, make sure to pull the ribbon out at the points.
To get a good shape stuff the triangle really well and pin the top opening shut.
You can then either slip stitch the opening closed or push the stuffing back and use the sewing machine carefully.
Then by tying the ribbon the triangle will change to give a heart like shape.
This idea was passed on to me by a friend but I changed the shape and scale of the triangle to give a fuller shape that resembled a heart and was easier to stuff in the points, so there may well be other tutorials with a simialar idea out there in the interent.
I have created versions by quilting the fabric first then stitching together.  I have also used felt, silk and recycled jumpers.
So there is time to make one for Valetines day.

If you do make up your own then please leave a link in the comment box and we shall all pop over and take a look and say hello.
The students hearts were brilliant and they only took two sessions due to drying time, so quite a quick project and they all went home very happy!
Have a good week.
xx


Thursday, 14 February 2013

Happy Valentines Day

It has been a lovely sunny day today complete with bright blue skies.
Many thanks to those of you for your words of support concerning my hospital appointment and Hip update.  It has not been a bad week and today I have spent several hours having iPad training. More of the same tomorrow then it is half term and a much needed rest for said hip, but above all a mental rest and a visit to see my Mum over near Cambridge.

So, Happy Valentines day everyone and I thought I would show you a fabric heart that I made for Sophie last summer.
Hubby gave me a lovely card and a lovely silver necklace with filigree on one side of it on a short chain so suitable to wear everyday. In return a book on 1970's vintage cars. He loved the cars featured in Life on Mars and Ashes to Ashes and he was thrilled with it.
Have you all noticed that it is getting a bit lighter in the mornings and evenings........
xx

Monday, 4 February 2013

Woven Felt Heart Tutorial

A little tutorial for a simple woven felt heart in time for Valentines Day.  I have seen these around blogland so I cannot claim to have come up with this idea.  This is just my take on it.
I have not yet got the template sorted out but I will, however, I thought you might like to see the instructions.
Using the above shape cut 2 out in red felt.  Making sure that the slits are the same length.
 They should look like this.
You then need to interlock the two shapes together by weaving the sections under and over each other.  A few pins here and there might help to keep it all in place and not slipping around.
You now need to stitch the weaving together  to give it strength and stop it from coming apart.  At this stage you can start to decorate you heart as much as you like.  I used white embroidery thread and running stitch through the layers.
I then added some pink heart buttons, but you could use any buttons that you like or perhaps beads or sequins.
In-between the button squares I added some double white cross stitch embroidery, again in white thread.
I laid the finished heart onto some spotty felt fabric and cut out the back of the heart and pinned them together.  This time I decided to use matching red thread to go around the outside.  
At the top I added a loop of red and white spotty ribbon and stitched this in as I went around the heart shape.  I left a small gap and added stuffing to the heart until it was quite firm and had a good shape.
This is the spotty back.
Hung up on my kitchen which is also red and white.
A little make for Valentine's Day which is ideal for creating in the evenings.
Took about 1.5 hours to make.
Hope you enjoy making this and let me know in the comments if a template would be useful or not and I shall add it to this post.
xx

Friday, 4 February 2011

Valentine Cards

It is that time of year again when hearts and lots of red starts to appear everywhere.
Ihave made another batch of cards to be taken into work and the above card has already sold! (Wish the same could be said for my Etsy Shop)

I made a couple of hand stitched cards too. I would have liked to have made more, but time ran out.

A mixture of card and ribbon on this card. This year I decided to go for bright colours because the way things are at the moment I think we could all do with cheering up a little.

Just a couple of long thin cards with a pink and purple feel rather than red.

I think that I made about 15 in total and left them in my pigeon hole in the staff room until next Monday. I know have some birthday cards to do then I think I might start to think about Easter.

Have a good weekend!

Thank you all for visiting this week, there are some new countries on my hit list.

xx

Sunday, 14 February 2010

Happy Valentine's Day...

Happy Valentine's Day.
I have made Valentine Day cards to take to work for the past few years and they have been very popular. So last Sunday I sat down for a couple of hours and made the following. It is mainly the fact that i am sat down, relaxing and playing with felt and blanket fabric which is the main aim of this. Colleagues at work also get a card that is much nicer than shop bought. I am gradually converting them to handmade you see.

I also like using square cards, they seem to work better proportionally.

I did come up with an idea and then just made variations of it to create a batch run. Tried to make some slightly plainer for the men in our lives!

I gave hubby the dark blue one on left. Next on the cards (sorry no pun intended, but it worked didn't it?) are some Mother's Day cards. I skipped this last year and then was asked had I made any, typical, so this year I will make a few and take them in. I have also cut out some Easter items for this year which I shall be listing in my Folksy shop. I was very busy with these items last year and there will also be a couple of new designs to add to the range. More on that nearer the time.

I hope you all have a great day what you have planned.

Many thanks again for the lovely comments that are still being added to my Kitchen post. The highest number of responses that I have had since I started my blog. My hubby is really chuffed by what you have all said.

I now only need 4 more people to join in the ATC swap. remember, you only need one idea and make it 6 times and it can be on any theme. I need to know by Wednesday at the latest. Otherwise, I may have to call it off as I do not how to get around the numbers bit. Let me know. here is a link where you can see the type of thing you could make or though they could be much simpler. Mine will be.

Creative Swaps.

Go on, be brave.

Take care and have a great day.

xx

Friday, 6 February 2009

Commission Done!!!

I did start this post yesterday but it seems not to have saved, never mind.
On Tuesday I finished my first commission via Etsy which I have really enjoyed doing. it has been posted via airmail and I do hope that it does not take too long the get to America as it is meant to get there for Valentines Day.
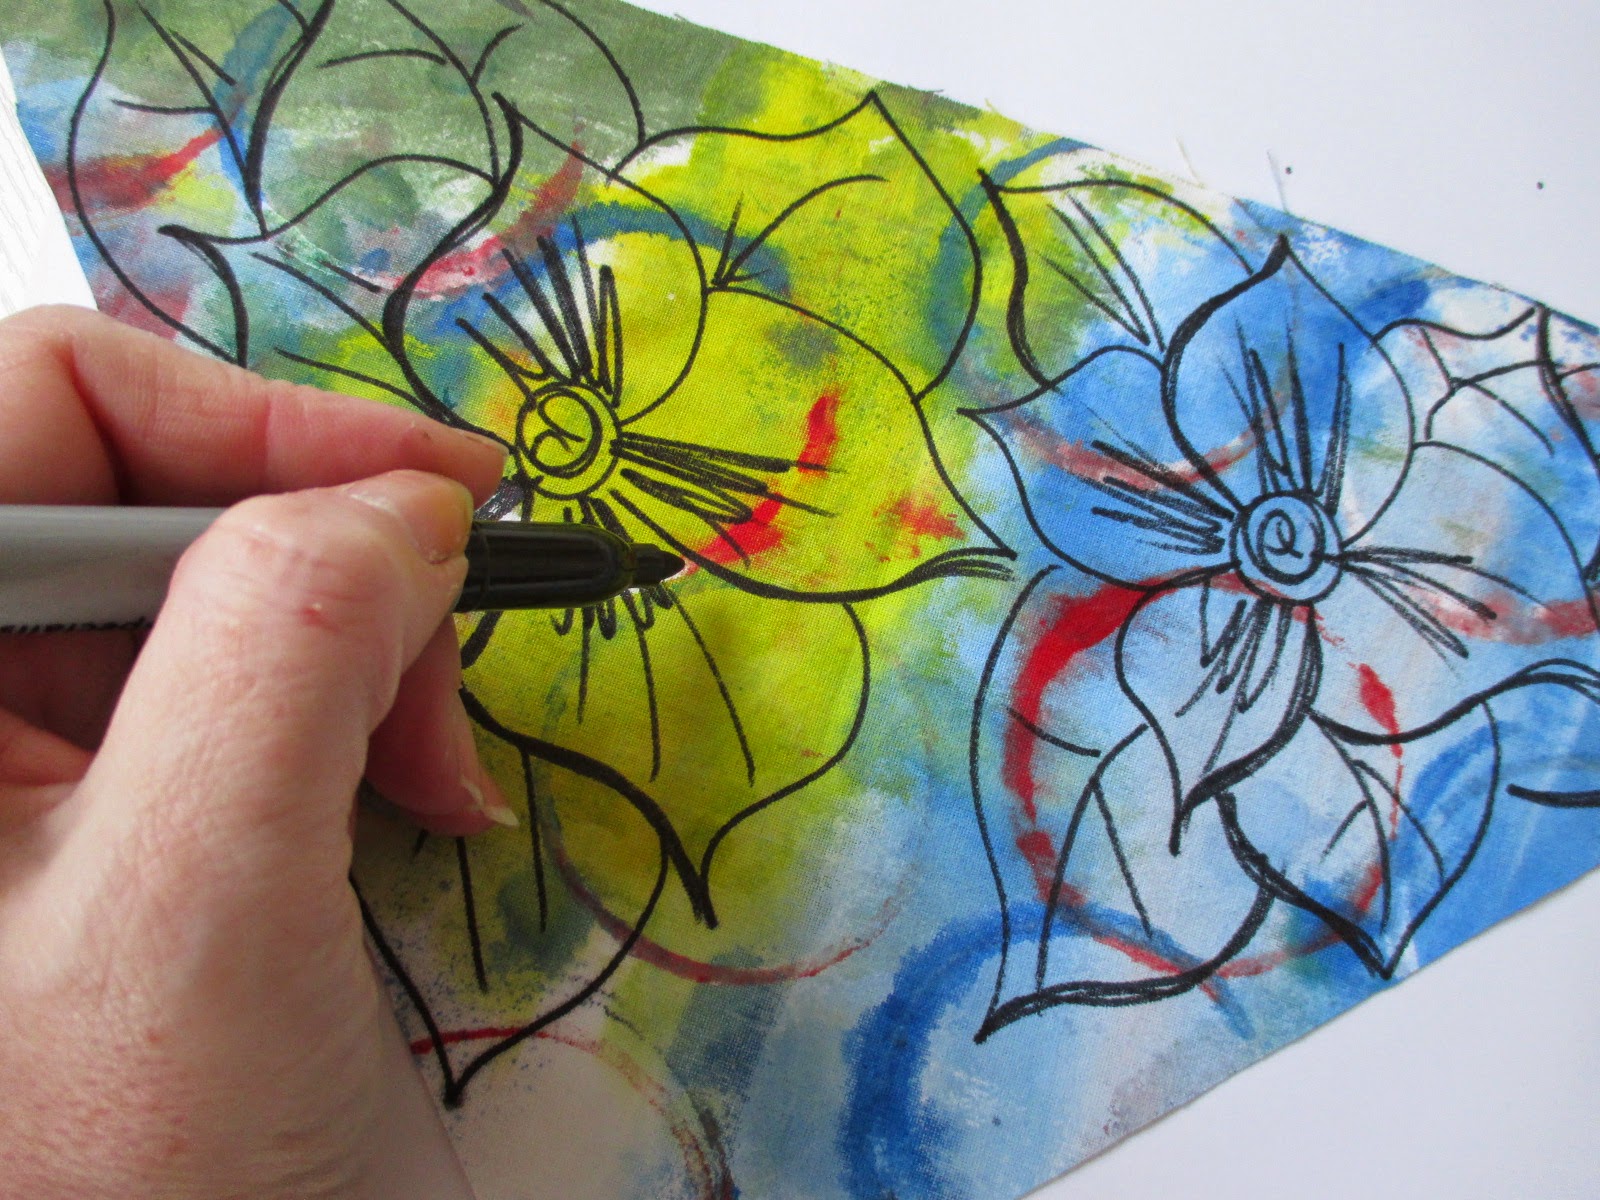
It all started with an Etsy Convo and a couple of emails later I was off on my first on-line order. I had created a couple of drawings which I scanned and emailed through to make sure that we were both talking about the same idea...

Design 1

Design 2
The customer liked my Valentine decorations in my Etsy shop and wanted to use that as a starting point. I was given a final length for the arrangement which is going to be hung up, either on a door or on a wall.

Once we had sorted out the colours, size about 60cm long, method of hanging, etc was sorted out and then I set to work.

I really like having specific reason for making something and it did not take long to put it together once I got started.

Final item.

This is a photo of the final outcome. As usual the colours have struggled to show up well as the winter light is not too helpful for taking pictures at the moment.

Felt layers, hand stitching using embroidery threads, seed beading and brads have all gone together to make each of the hearts.


Heart 2


Heart 3
All of the hearts were shades of red, pink, purple and white. They were then stitched a length of lovely ribbon.
It is now winging its way to America and if you are wondering if I am spoiling the surprise the lady has already seen these pictures before I sent the item. So what do you think?
I really enjoyed this experience I hope that I get to do something like this again very soon.
I am back on the knitting trail again with my never, never ending knitted blanket! Remember it? I certainly do. So tonight I am knitting one of the cream pattern squares them I shall pick a ball at random from my wool mountain (which sits next to my book mountain) and just keep going.
Ballet tomorrow then starting to wash and iron for next weekend when we are suppose to be flying to Paris Disneyland from Bristol airport. What do you think are our chances of actually taking off with all of this snow on the 14th February?
Keep warm
see you tomorrow.
Related Posts Plugin for WordPress, Blogger...