


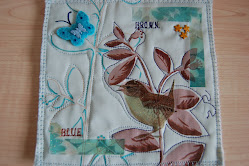
%5B1%5D.jpg)


%5B1%5D.jpg)


I have had a really busy week and blogging has been a bit thin on the ground this week. With the darker colder evenings starting the need to get my knitting needles out began. I crochet some dish cloths a few years ago and decided to have a go at making some knitted versions. I looked around the internet and found a nice little pattern at Maggies Rags.
I can easily knit a square but I wanted to try a new stitch pattern as well and seeing as the square would not be too big I felt that my limited knitting skills could cope and I would not have enough time to ruin it. Unlike making a jumper!

I started off with the really easy one and used simple stocking stitch with 100% cotton yarn for making dish cloths.
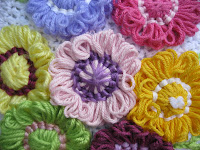
 The above pictures shows the stitch created using Maggies Rag pattern. Very quick once you get the hang of it and there is only four rows to make the pattern which are just repeated. This is a pattern that I would use again.
 Then, just to finish off the edges I crochet around them using treble stitch.
They have turned out nearly as large as my crochet dishcloths but they are a looser shape which I think will make them easier to fold and use. They are certainly better than buying throw away cloths and nicer.
We have spent most of this weekend re-flooring the living room and the internet was switched off half way through my posting!! So the date is a bit out but never mind. I shall post a few pics and hubby has done himself proud again with Sophie's help. For a nine year old she listened really well, was very fussy about how everything looked. She has learnt a lot this weekend and this is how I learnt some DIY....by being shown by my Dad.
xx


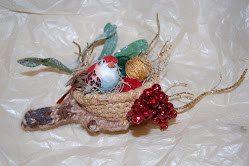
%5B1%5D.jpg)


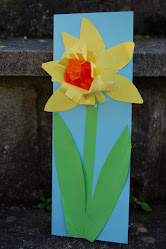
.JPG)


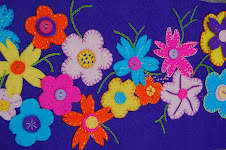
